Complete Guide to Protecting UTVs With Aftermarket Fenders

Riding off-road inherently results in a fair share of wear and tear, especially when your UTV tackles mud, rocks, sand, and debris at full throttle. While these machines can handle the wild, extra protection means longer-lasting performance and less maintenance. Our complete guide to protecting UTVs with aftermarket fenders will explain how these essential add-ons can shield the body of a UTV from debris and impact damage. Plus, we’ll touch on why every rider should add them to the top of their upgrade list.
Why Stock Fenders Often Fall Short
Manufacturers design stock UTV fenders to meet basic standards. They’re fine for casual cruising, but the moment your tires dig into serious terrain, the limitations become obvious. Stock fenders usually don’t cover enough, so mud and rocks end up spraying your side panels, suspension, and even fly up onto your ride.
Off-roaders regularly deal with dirt and debris coating the side panels, suspension parts, and the cabin interior after aggressive runs. After a solid off-road session, it’s pretty normal to find your rig caked in dirt. Stock setups struggle to block all that chaos. Worse yet, worn-out or brittle OEM plastics crack under pressure or sunlight, making them unreliable for the long haul. If you've had your UTV for a while, check for hairline cracks or brittleness—it's a sign your fenders aren't holding up.
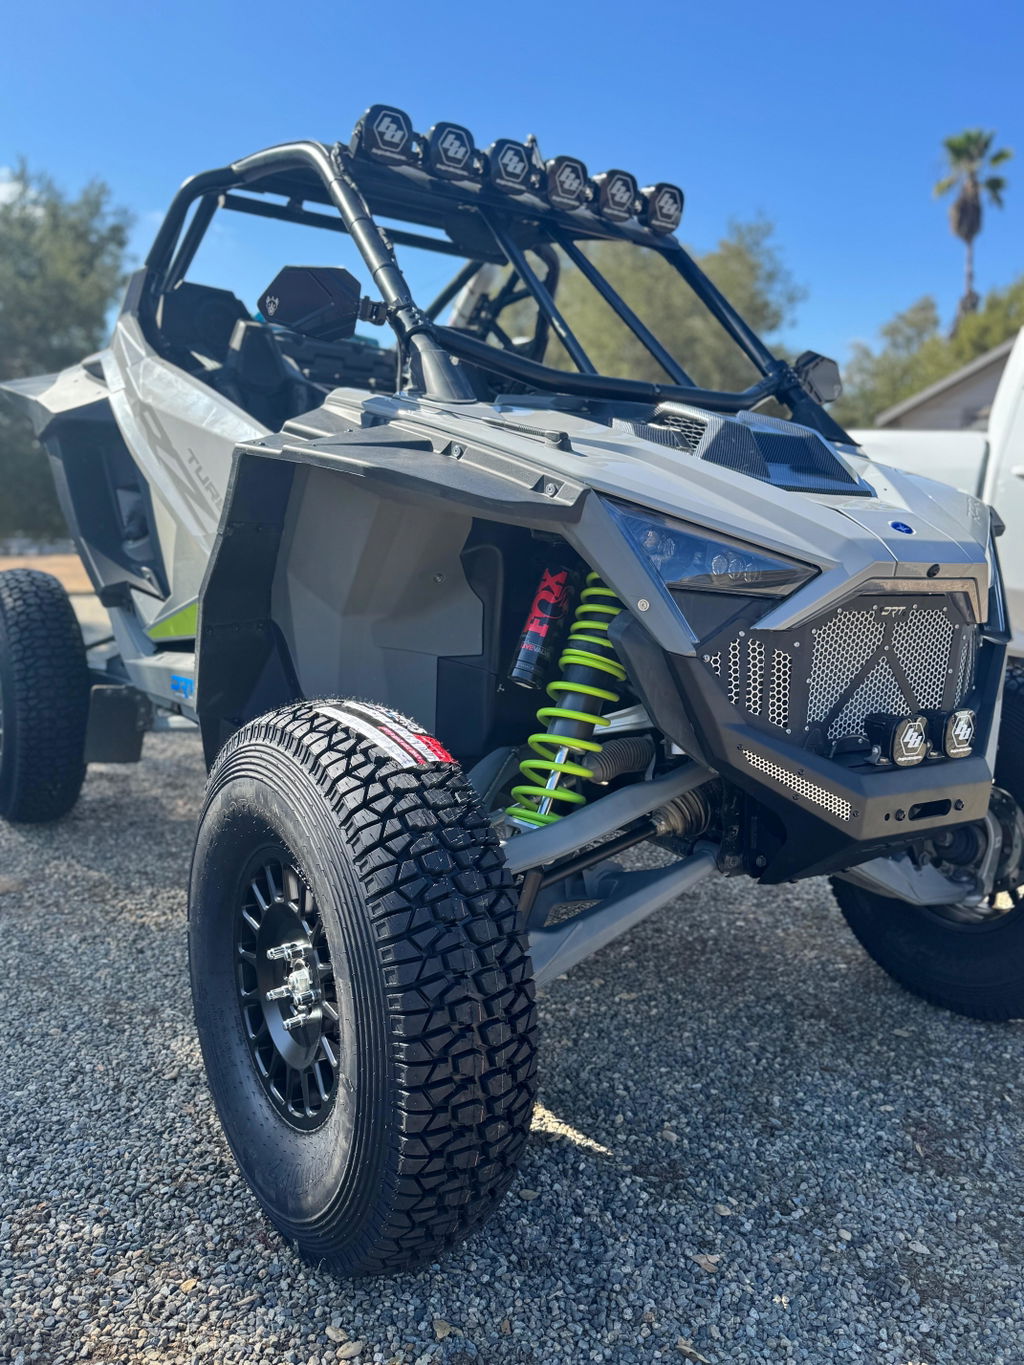
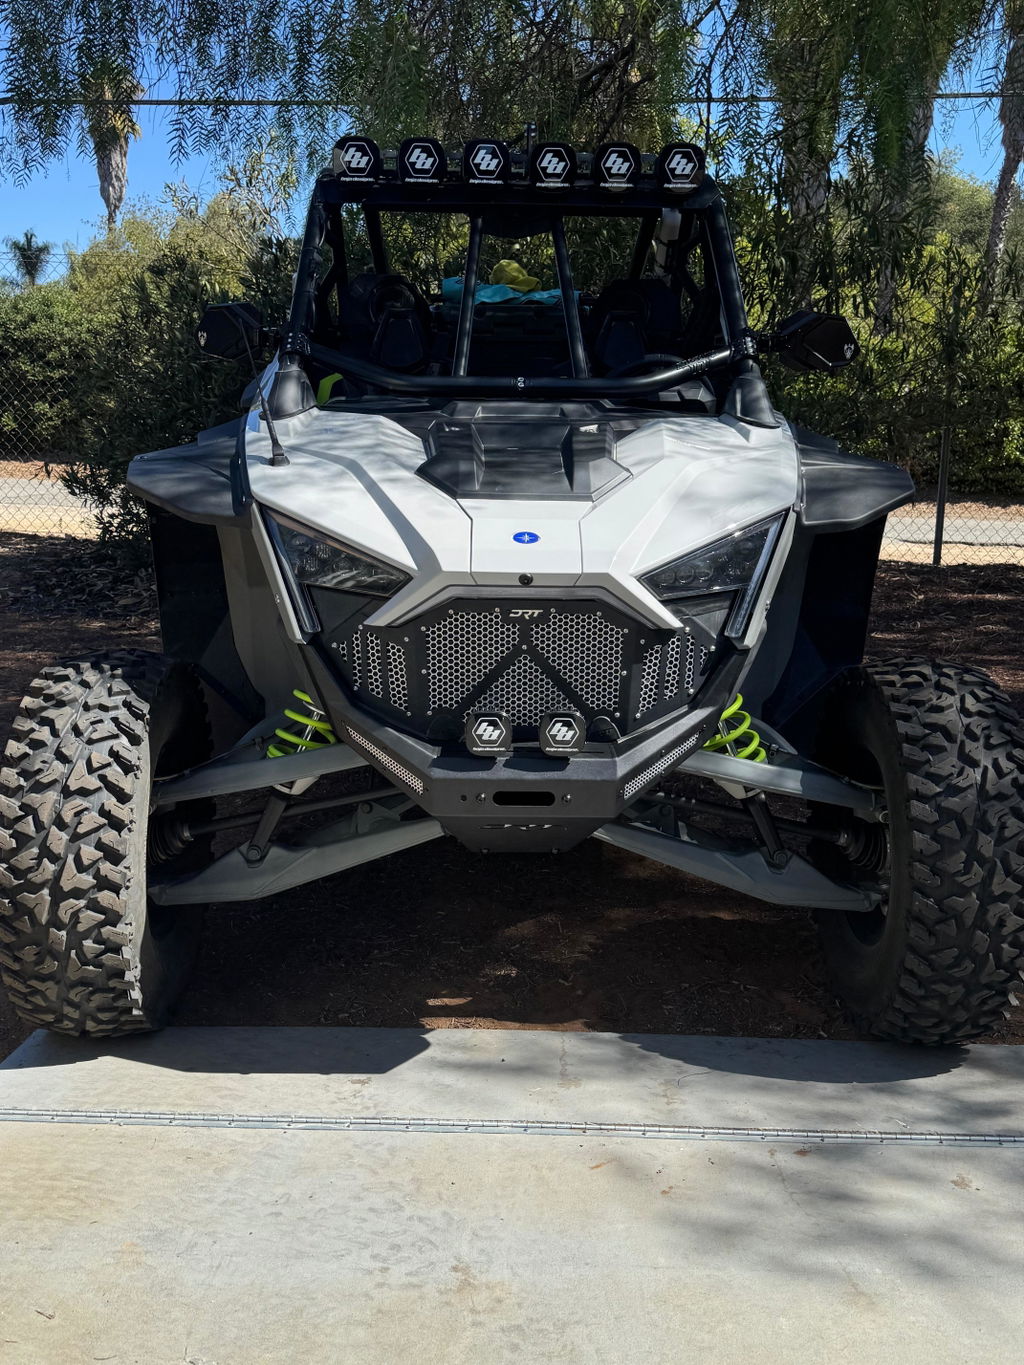
When you push your UTV to the limit, aftermarket fenders make a clear difference. These fenders deflect debris and provide wider coverage and more durable construction. That added protection keeps your rig cleaner, more functional, and better looking after each ride.
How Aftermarket Fenders Improve Protection
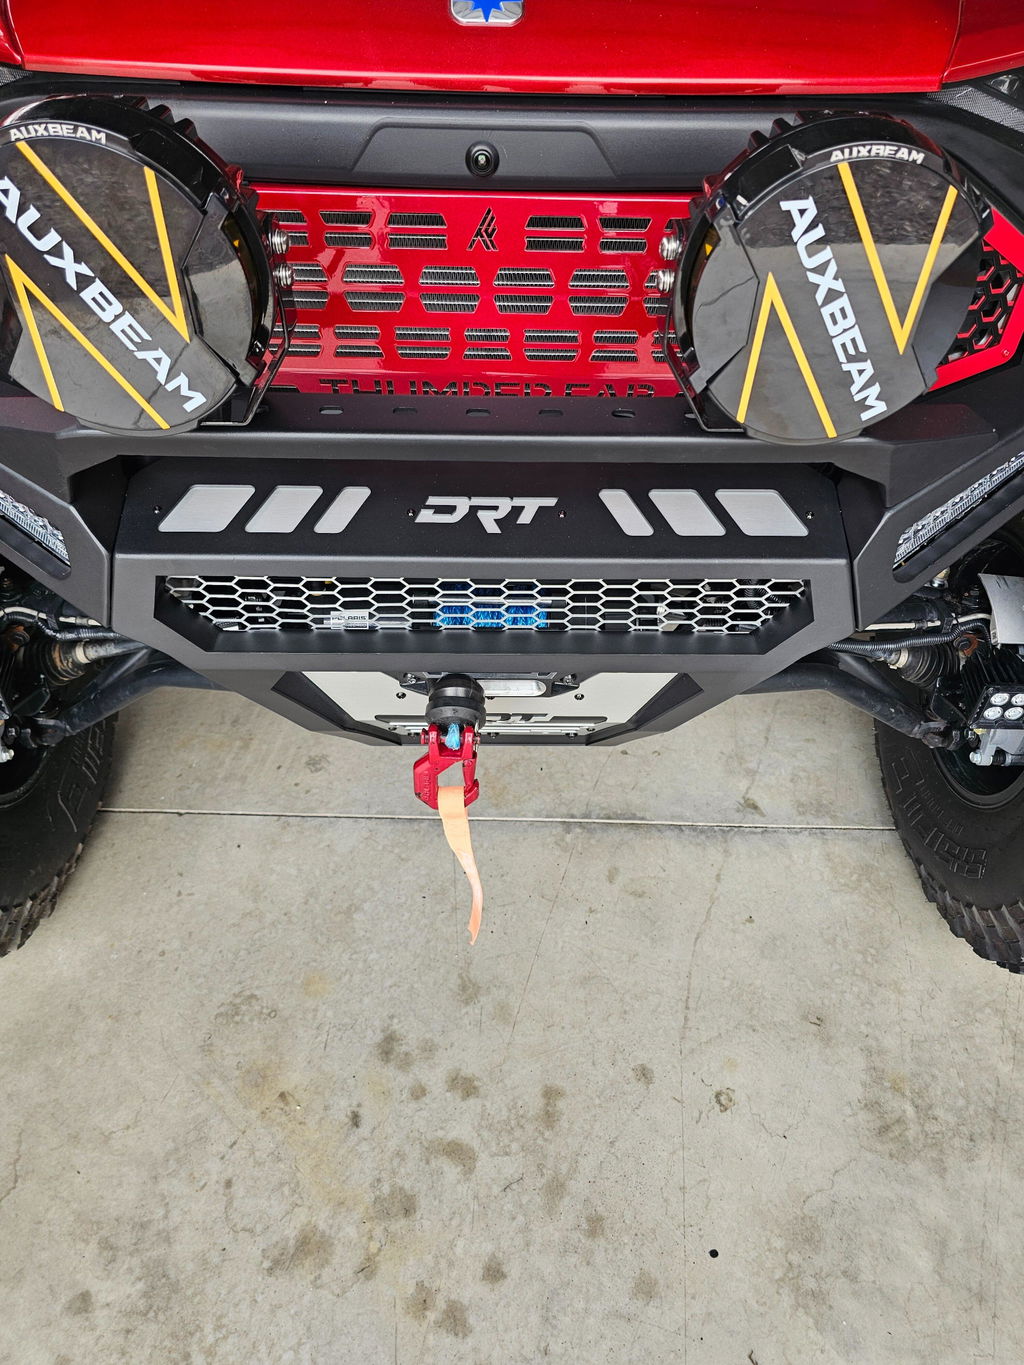
Aftermarket fenders offer more than visual appeal. They’re built to take a beating and keep your ride trail-ready, because nobody brags about mud in their face.
Their construction and design work well in harsh environments. Wider profiles and contoured edges help block flying debris, which you’ll find reduces damage to paint, body panels, and sensitive suspension components.
Many of these fenders consist of high-density polyethylene (HDPE) or injection-molded plastics. They're tough enough to handle UV rays, hard hits, and constant vibration—so no cracking or fading before their time. Some fenders even have a bit of flex, so they can take a knock from a branch or rock without snapping.
Whether you're sliding through sand dunes or navigating narrow forest trails, these fenders serve as a frontline defense. They prevent trail junk from clogging your axles or slapping against your side mirrors like nature’s own backhand.
If you want to spend less time scrubbing and more time riding, go for aftermarket fenders. They cut down on cleanup, protect key parts, and help you avoid costly repairs. Your parts will last longer, which means less maintenance and more trail time.
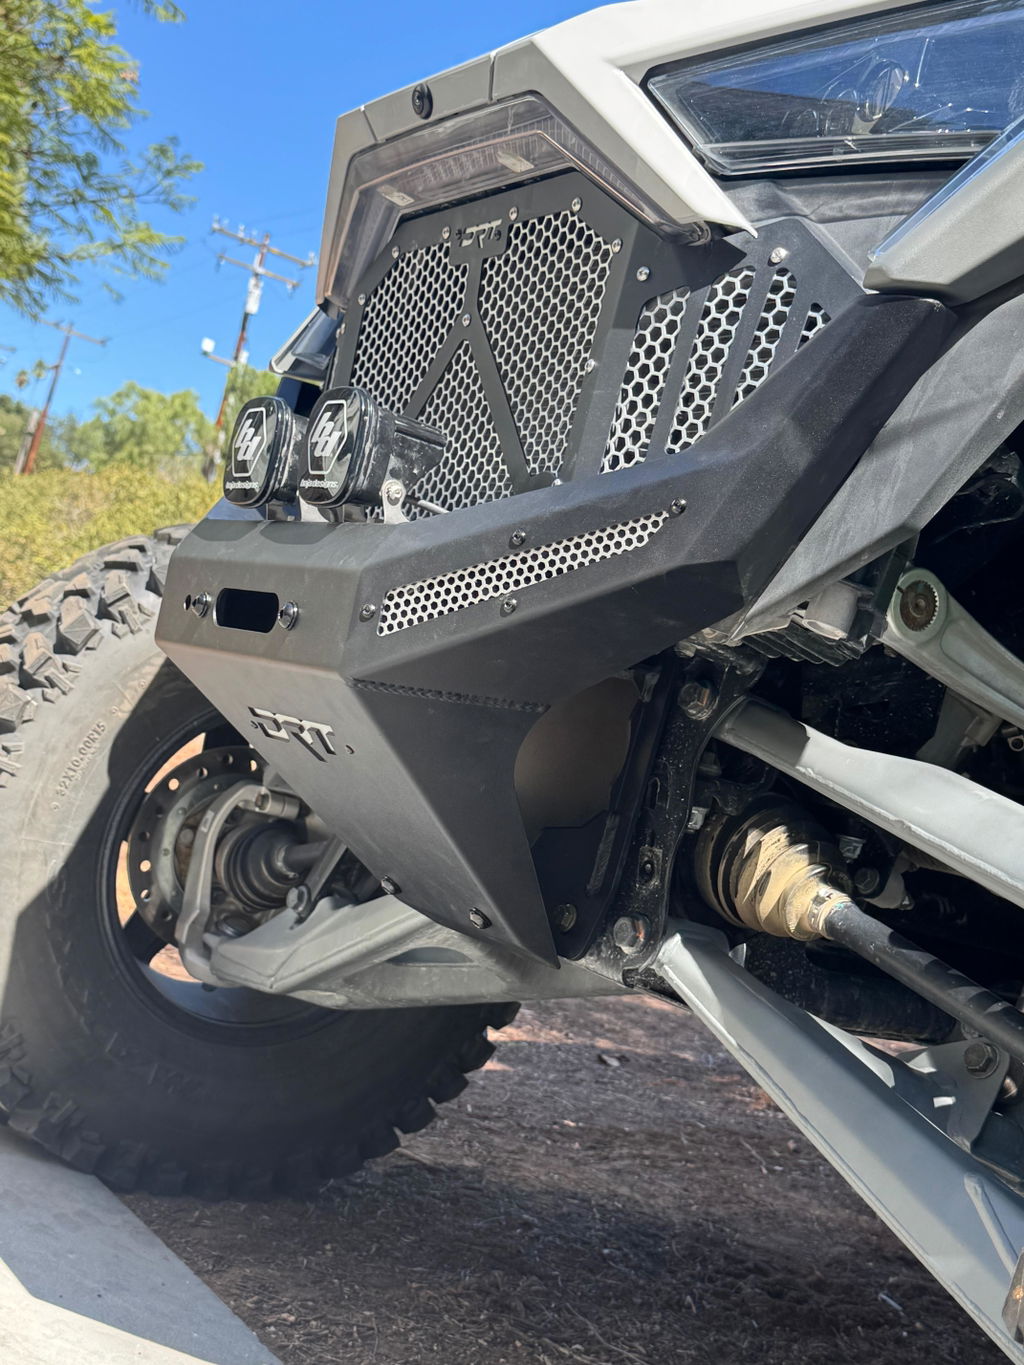
Many fenders also include optional mud flap extensions or wing-style guards for additional coverage. Keep an eye out for them because these add-ons do more than just look cool—they keep flying grit off you and your passengers, and protect sensitive parts like brake lines, air filters, and radiators from getting clogged or damaged.

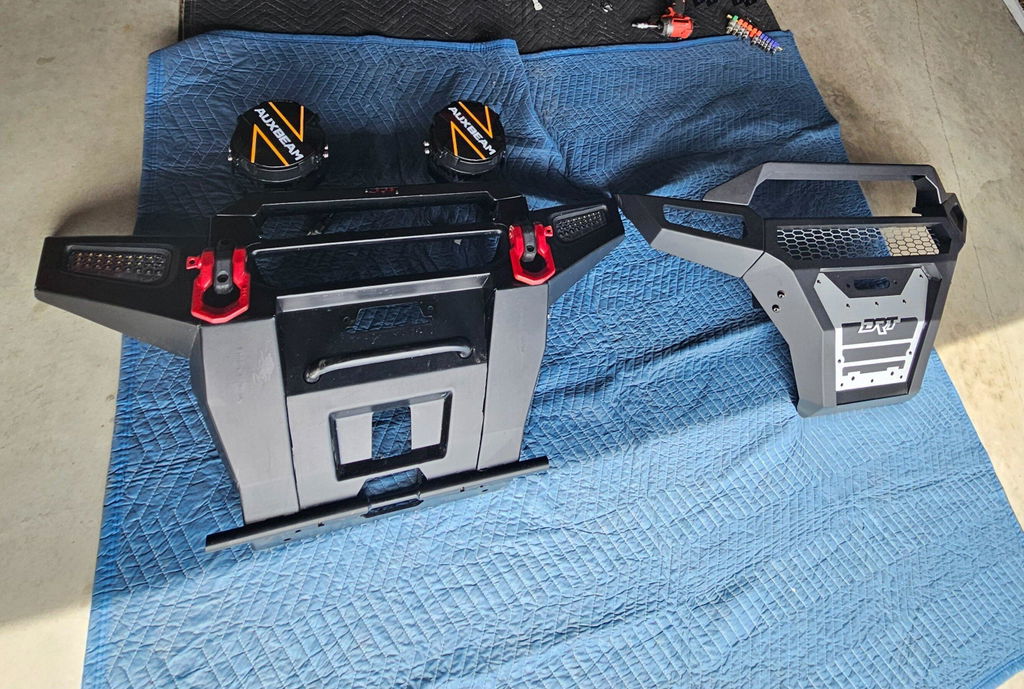
Choosing the Right Fender for Your UTV
As an off road rider, you’ll have a variety of fender options to choose from, which can feel overwhelming. To make the best choice, start with compatibility. Not all fenders fit every model, so always confirm they match your UTV’s year, make, and model before buying.
Leading manufacturers usually offer vehicle-specific kits to ensure easy installation and a clean fit. Double-checking fitment details can save you from returns and installation headaches. Next, think about your terrain. Mud riders should consider fenders with extended width or attachable mud flaps. Desert riders may want lighter fenders that handle sand spray without weighing the machine down.
Rock crawlers might focus on impact resistance instead of weight. Snow riders, on the other hand, benefit from fenders that prevent buildup around tires and suspension, something that can mess with steering and traction.
You’ll also want to factor in materials. HDPE fenders work well for general off-road use, offering a balance between toughness and flexibility. Aluminum fenders provide a rugged, high-strength option but are often heavier. Carbon fiber is another premium choice—super lightweight and strong, though it comes at a higher price point.
If aesthetics matter, look for molded fenders with a smooth finish or paint-matching capabilities. Some brands even offer textured coatings for scratch resistance and easier cleaning. Keep installation in mind, too. Some fenders bolt directly into existing holes using basic tools, while others may require trimming or drilling.
If you're not into DIY projects, opt for fender kits labeled as "bolt-on" for easier setup. Reading customer reviews can also give you a clearer idea of what’s involved before you order. Lastly, don’t forget about add-ons. Some kits come with LED lights or quick-release mounts, offering more value for your money.
Lastly, don’t forget about add-ons. Some kits come with integrated mudguards, LED lights, or quick-release mounts, offering more value for your money. Consider how you use your UTV and pick a setup that complements your style and demands. If you’re racing, for example, quick-detach fenders might come in handy for fast maintenance. Trail riders might benefit more from extra-wide kits that keep the cabin cleaner.
Installation Tips for a Clean Setup
Getting your aftermarket fenders installed properly makes everything easier. Start by reading the manufacturer’s instructions thoroughly. Even if the job looks simple, overlooking one small step can lead to loose mounting or rattling fenders. Some brands also offer install videos—worth watching to catch any tips or common hangups before you start.
Lay out all parts and tools before you begin. Most kits include brackets, fasteners, and custom templates. A clean work surface and good lighting will help you spot any missing hardware or alignment issues before you're knee-deep in the job. Even using small containers or trays to keep bolts and clips organized, so you’re not hunting through the dirt mid-install.
Take your time lining up the fenders before committing to any drilling. Many kits rely on factory mounting points, which simplify the process and preserve your vehicle’s integrity.
If the project requires cutting or trimming, use masking tape to outline your cuts and a fine-tooth saw or rotary tool for clean edges. It also helps to double-check alignment from different angles—what looks straight up-close might be off from a distance.
Check for tire clearance at full suspension travel. The last thing you want is your tires rubbing your new fenders during articulation. Adjust brackets and positioning to allow at least an inch or two-of buffer space. If you're unsure, jack the UTV up and simulate max compression to see how everything clears.
Finally, once mounted, go for a short test ride. Listen for any unusual sounds, especially rattling or scraping. Re-tighten bolts after the first ride, so everything stays snug. After a few rides, it’s also smart to do a quick inspection—off-roading can loosen things up faster than you'd think.

Maintenance and Longevity of Aftermarket Fenders
Aftermarket fenders are low maintenance by design, but a little TLC will keep them functional and looking fresh. Start with regular cleaning, especially after muddy rides. Hose off debris and use a mild soap to scrub off caked-on dirt.
Avoid harsh chemicals, as they can fade or weaken the plastic over time. For stuck-on grime, a soft-bristle brush works great without scratching the surface. And don’t forget to rinse under the edges—mud loves to hide there.
You’ll also want to inspect the mounting points often. Off-road vibrations can loosen bolts or wear out brackets, so give everything a quick check every few rides. Tighten anything that starts to wobble and replace any worn-out hardware A dab of thread locker on the bolts can help keep things secure between checkups.
If your fenders get scuffed or scratched, you can often buff out surface marks with a plastic restorer or polish. Deep gouges may require sanding and touch-up paint, especially on color-matched or custom-painted fenders. With matte finishes, be sure to use products designed specifically for non-glossy surfaces—they won’t leave a weird shine.
It’s best to watch for UV damage, especially if your UTV sits outside. A UV protectant spray can help preserve the material's color and flexibility. This tip is particularly useful for riders in sunny or high-altitude areas. Even tossing a cover over your ride between adventures can go a long way in preventing sun damage.
Finally, keep spare fasteners or brackets on hand. They’re small, easy to lose, and essential for a quick trail fix. Zip ties and a mini socket set can also save your day if something shakes loose mid-ride. By giving your aftermarket fenders the highest level of care, you’ll maximize their lifespan and keep your rig looking sharp.
DRT Motorsports: Invest in Quality Aftermarket Fenders
With all the benefits they provide, aftermarket fenders remain one of the smartest upgrades you can make. Our complete guide to protecting UTVs with aftermarket fenders shows just how essential these accessories are, especially when combined with high-performance options such as Polaris Pro R accessories. Whether you're new to the scene or have mud in your veins, gearing up with top-tier parts from DRT Motorsports makes every ride safer, cleaner, and way more fun.